01. Inspiration
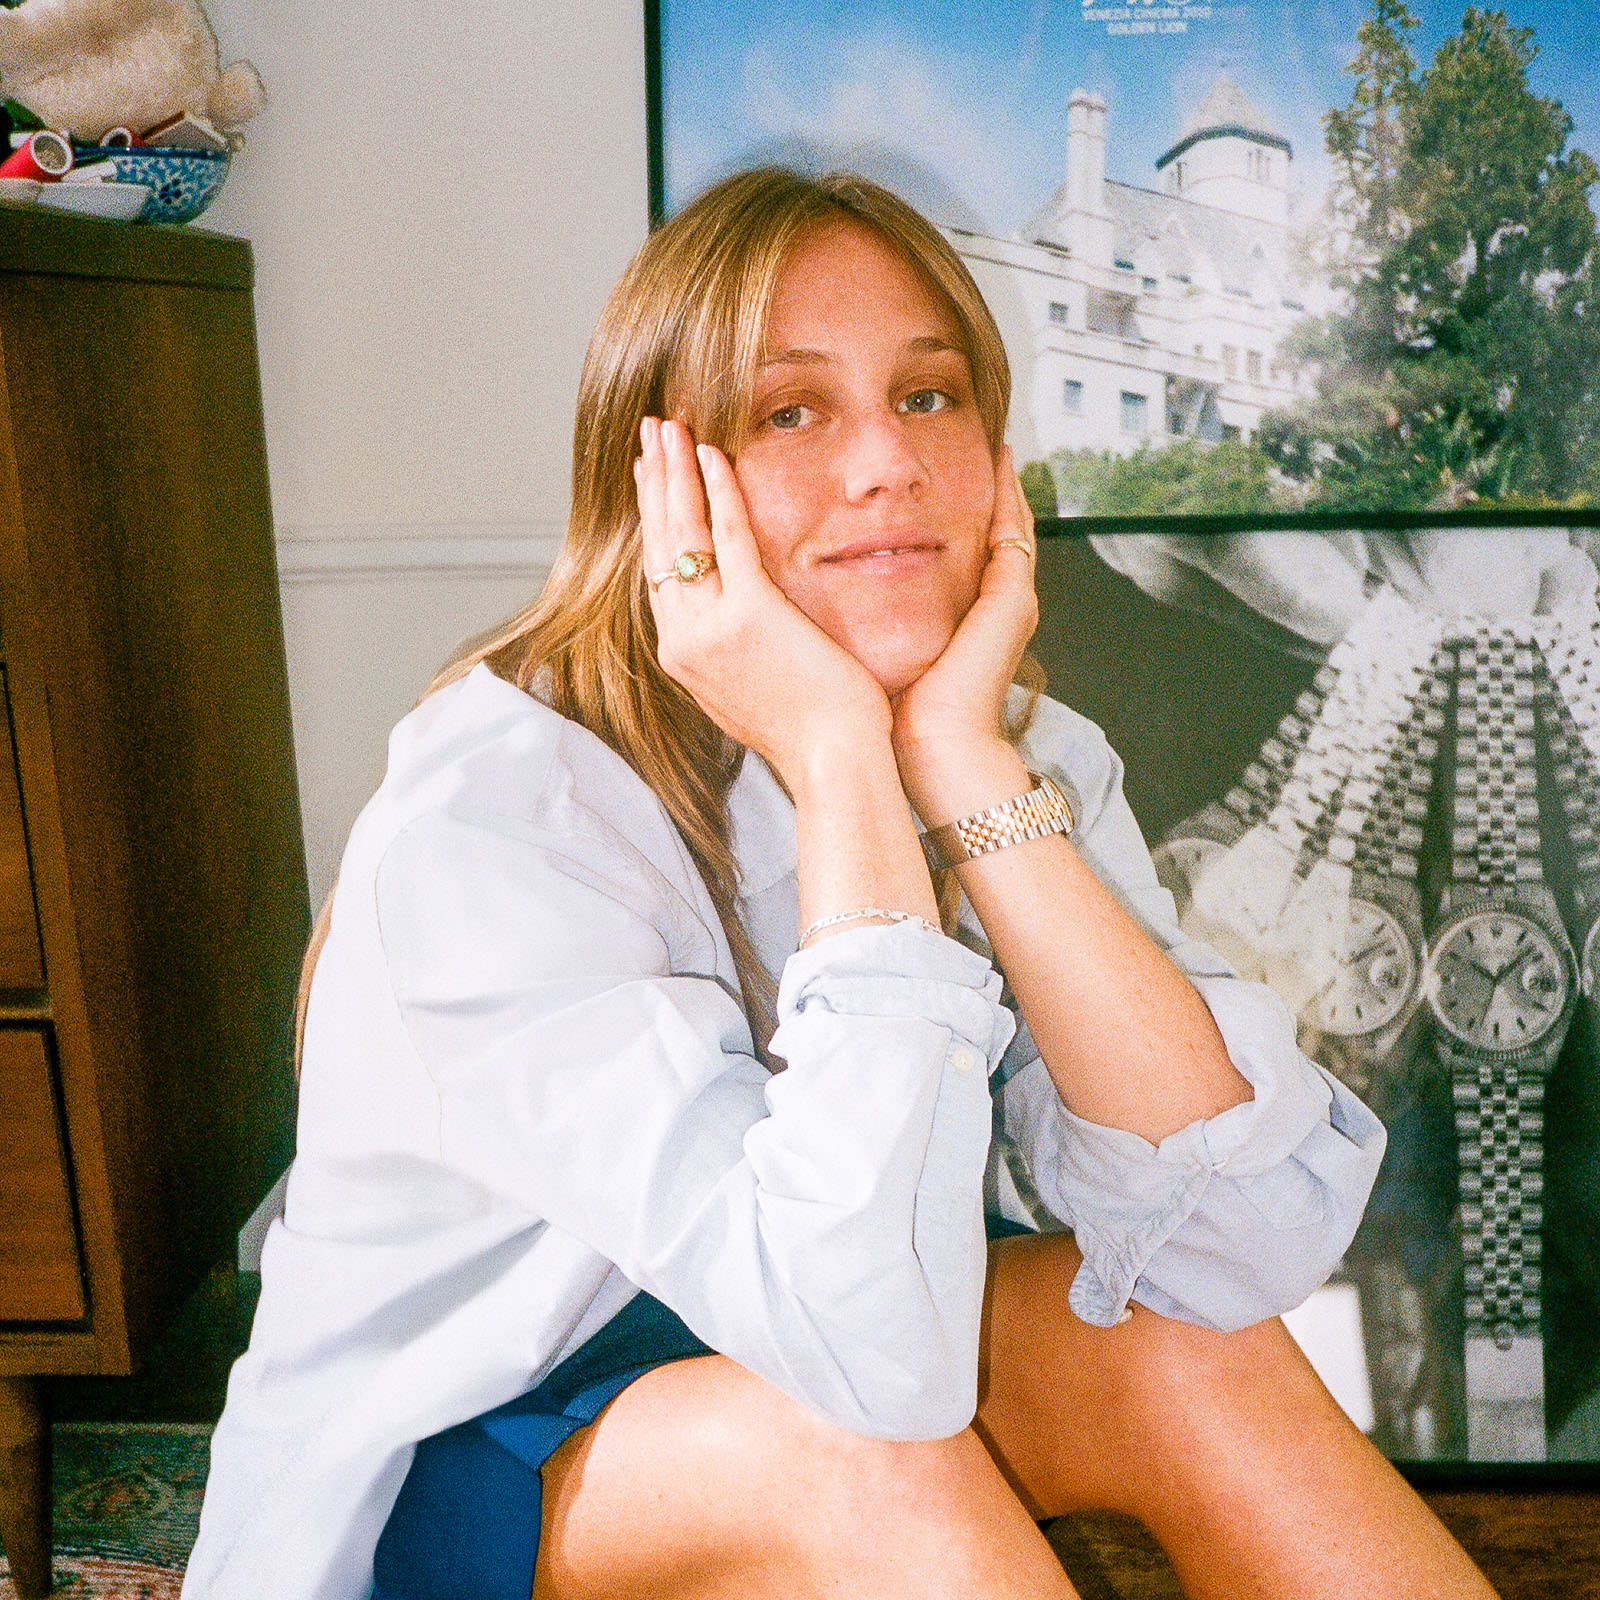
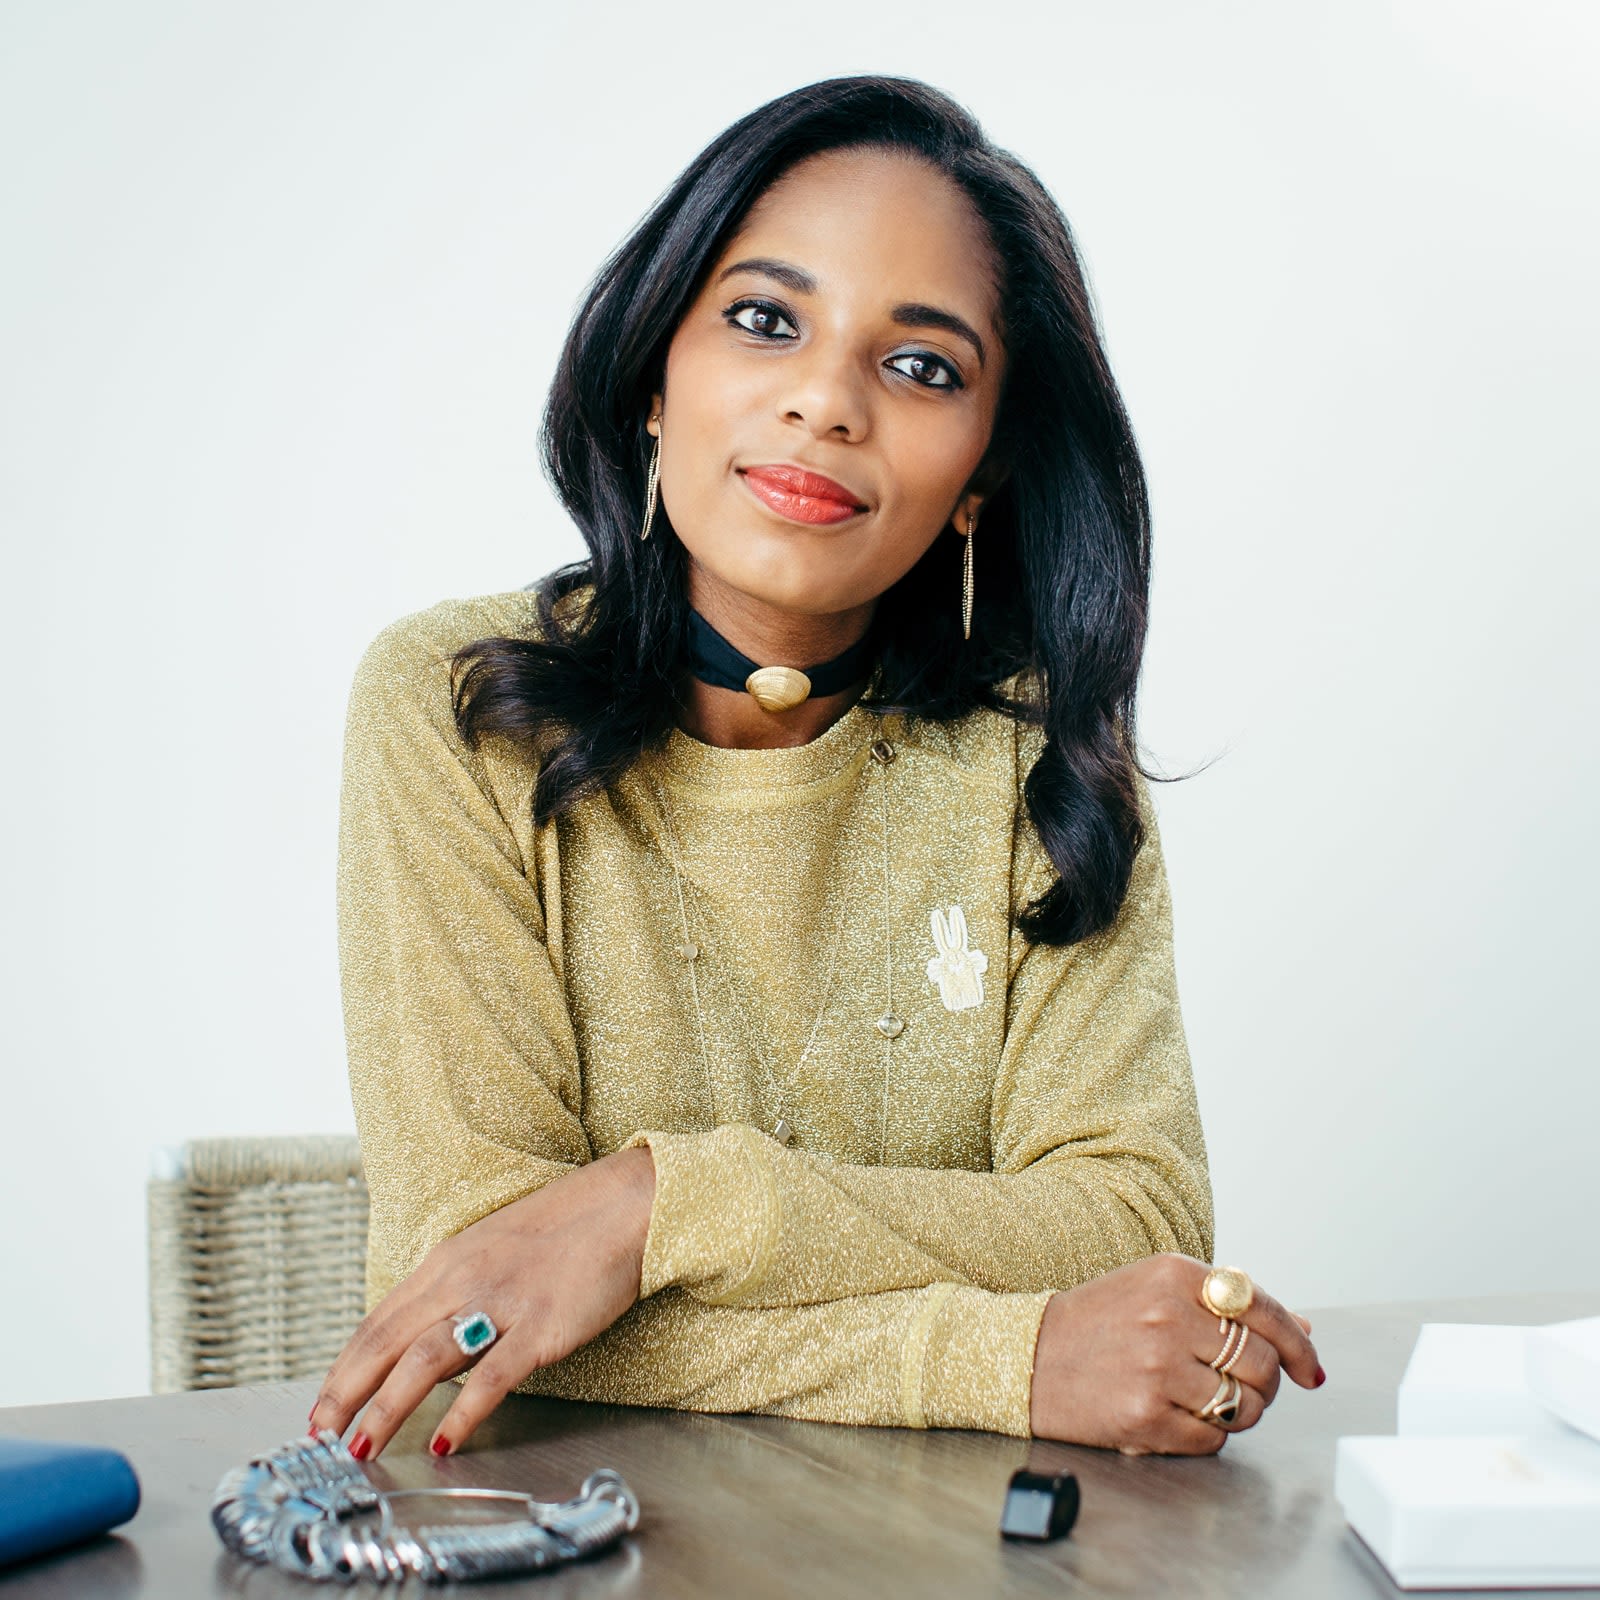
‘I took inspiration from a ring I saw when I worked at BVLGARI and decided to create my own version. I used computer-aided design [CAD] to create the shape. CAD is great as it means the exact item is cast, leading to less production waste and less gold used – so I can sell the ring for less.’
02. 3D Printing
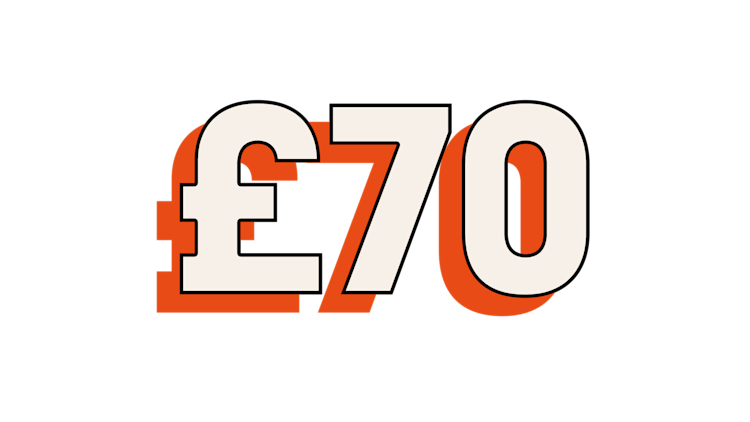
‘Once the CAD is complete a stereolithography [STL] file is sent to my specialist 3D printer. The file is printed overnight – it takes around 24 hours for the 3D image to be printed in wax.’
03. Casting
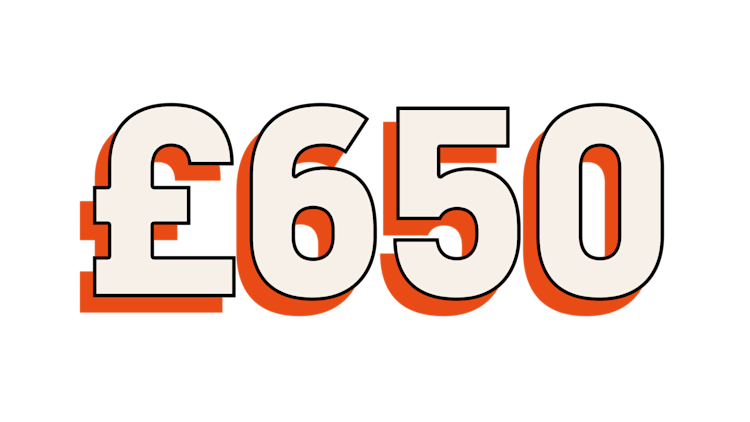
‘That wax model is sent to my caster just outside Birmingham. One of the most important factors working in the jewellery industry is trust in the people you work with. He uses lost wax casting – a process by which a wax pattern is made into a mould then filled with molten metal to create a replica. It’s called lost wax because the original wax is lost during the process.’
04. Adjusting
‘Once the cast is complete it’s then sent to my goldsmith in London who will remove sprue. Any size adjusting is done at this stage too.’
05. Stone setting

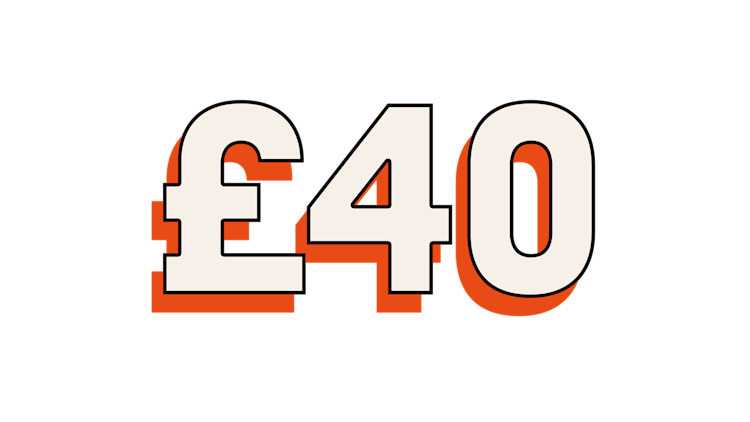
‘Then it’s sent to my stone setter – every setter has their own expertise and there are multiple different settings. This process doesn’t take very long but often they have a lot of work on so I always allow a couple of days. Depending on the size of the stone, it’s approximately £40 per stone.’
06. Polishing

‘Once set, the ring will be sent to my polisher who uses specialist machines to polish the ring to give it the shiny finish. Polishers specialise in this one task – you’ll seldom find a setter who also polishes.’
07. Hallmarking
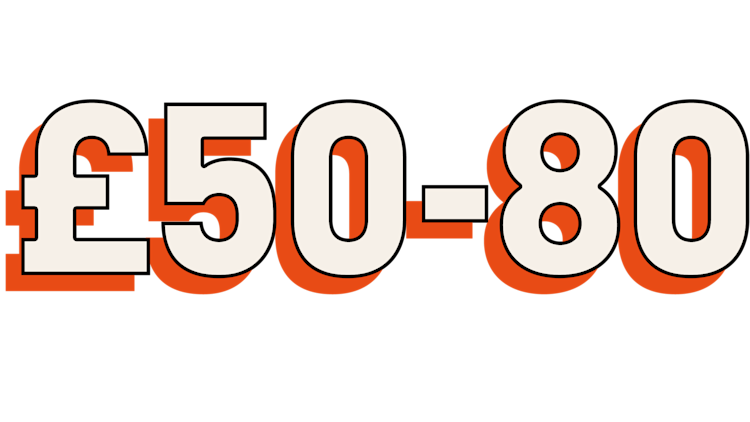
‘The next stage is hallmarking, applied to pieces of precious metals to verify the metals have conformed to legal standards of purity or fineness. That stamp also indicates the place it was made and the purity of gold. EG: 750 means its 18ct gold; 750 parts of 1,000 is gold and the other 250 is made up of other alloys to strengthen it.’
08. Delivery
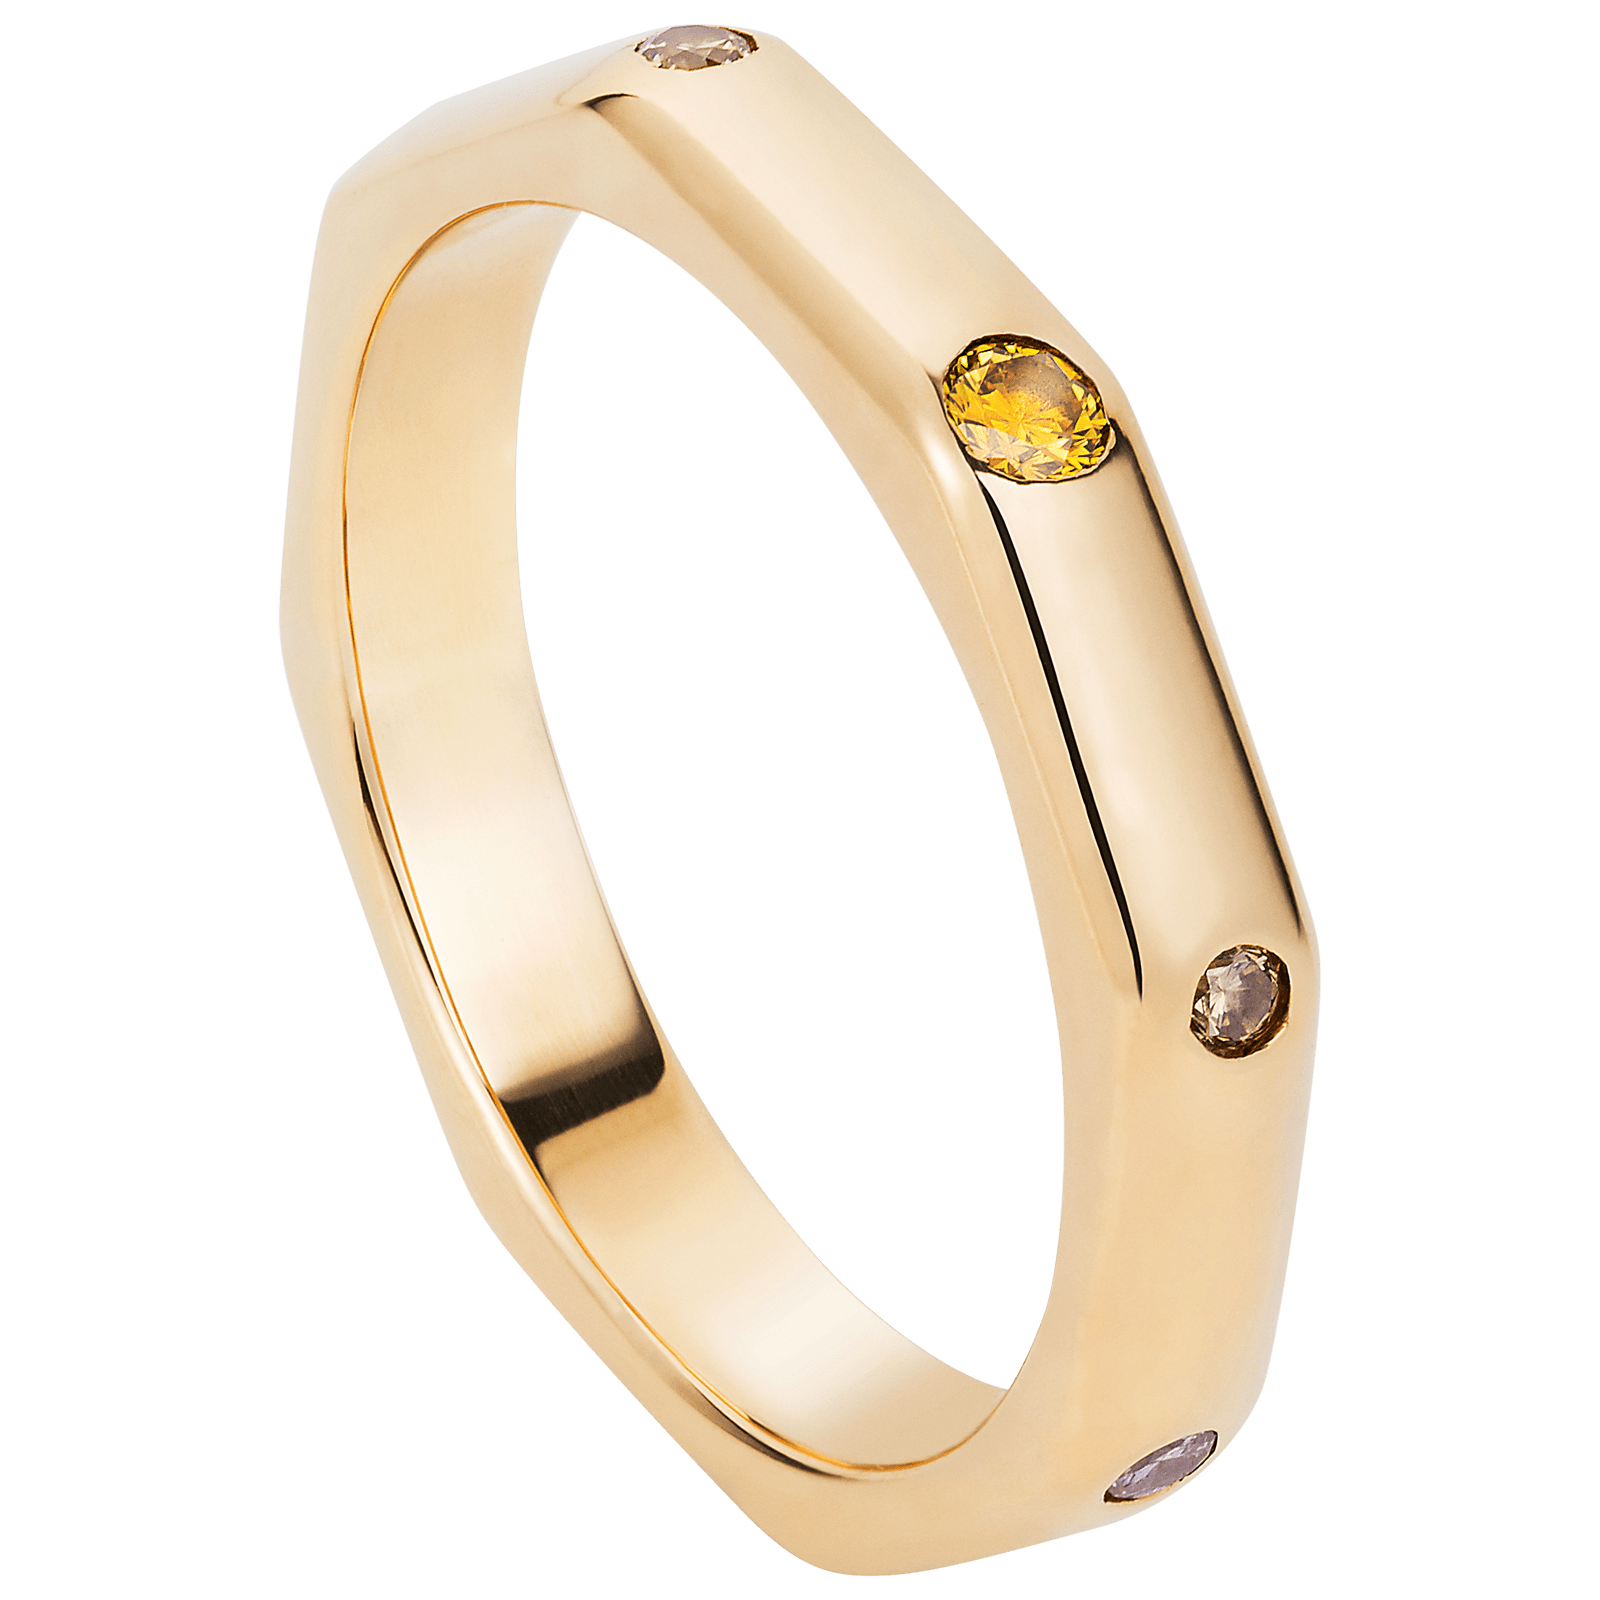
‘The lucky client gets the ring!’
Total:
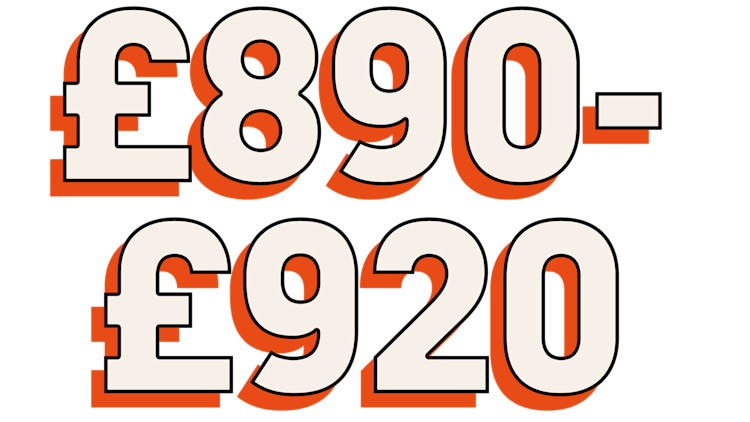
Costs are approximations.

